


2.1 Activation for New Company Account
STEP 1 - Check the activation email sent to your registered mailbox.
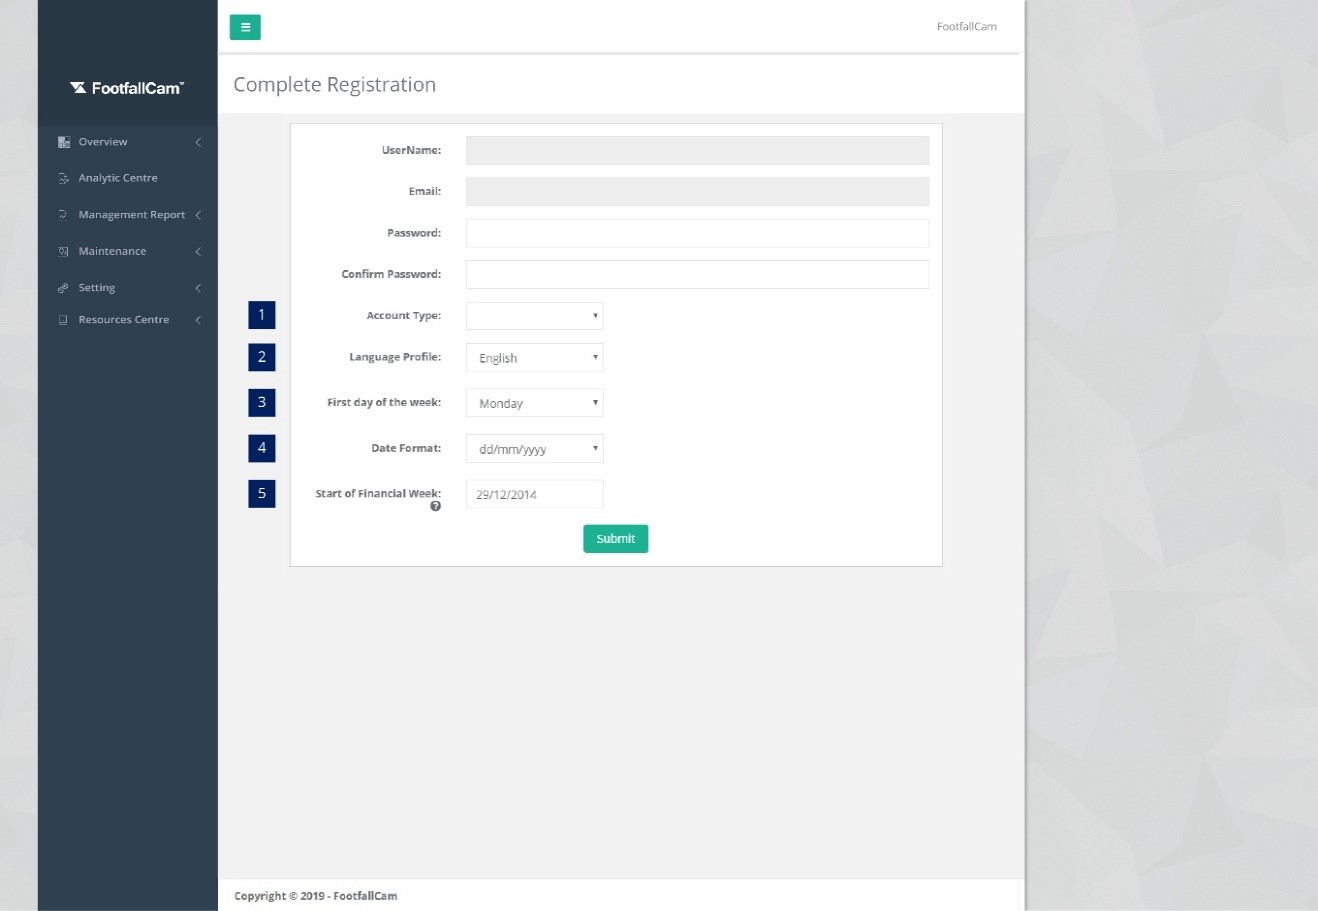
STEP 2 - Complete the registration form by entering all the required fields and click on Submit button.
|
Item |
Description |
|
1. Account Type |
Select the type of industry. |
|
2. Language |
Select the type of language. |
|
3. First Day of the Week |
Select the starting day for a week. |
|
4. Date Format |
Select the format of the date. (Info: Date format selected will be apply to features in FootfallCam Analytic Manager V8™.) |
|
5. Start of Financial Week |
Select the starting week of a year based on company fiscal year. |
2.2 Login to FootfallCam Analytic Manager Portal
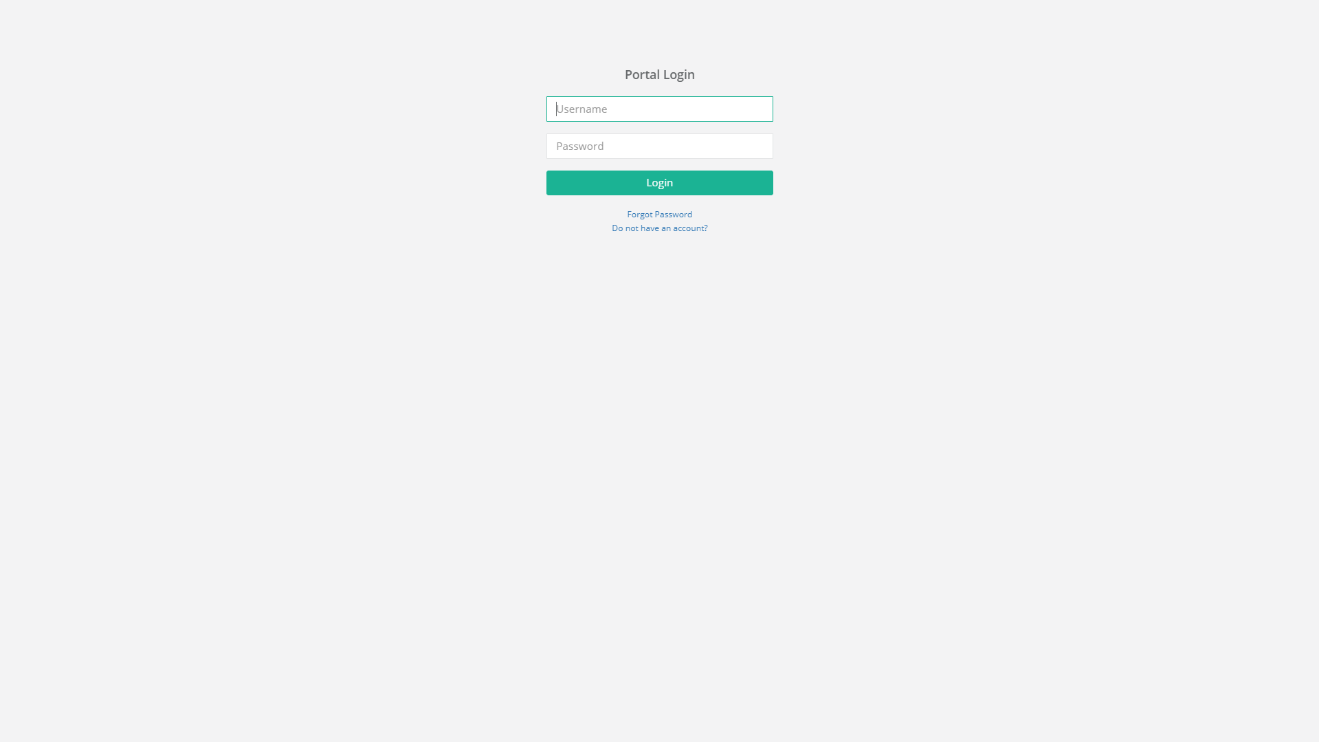 STEP 1 - Access to FootfallCam Analytic Manager V8™: https://portal.footfallcam.com/Account/Login via Google Chrome.
STEP 2 - Enter your username and password then click on Login.
2.3 Edit Company Setting
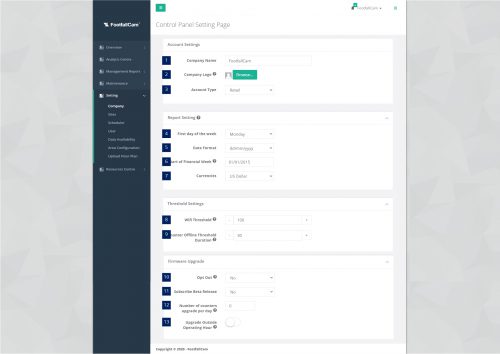
STEP 1 - Click on Setting > Company to access the Control Panel Setting Page.
STEP 2 - Update the required fields and click on Save.
|
Item |
Description |
|
1. Company Name |
Enter the company name for the FootfallCam Analytic Manager V8™ account. (Info: Company name inserted will be apply to reports in FootfallCam Analytic Manager V8™.) |
|
2. Company Logo |
Upload the company logo for your account with the .png format of 150px*30px. |
|
3. Account Type |
Select the type of account applicable to your industry. (Info: This setting will be applied to report feature.) |
|
4. First day of the week |
Select the first day of the week. (Info: This setting will be applied to report feature.) |
|
5. Date Format |
Select the preferred date format. (Info: The date selected will be applied to the report feature.) |
|
6. Start of Financial Week |
Select the first day of your company's financial week. (Info: The date selected will be applied to the report feature.) |
|
7. Currencies |
Select the applicable currency. (Info: The currency selected will be applied to the report feature.) |
|
8. Wifi Threshold |
Wifi threshold determines the detection range (minimum: 2m; maximum: 100m) for Wifi counting - the higher the value, the larger the detection range. This value will be applicable to all counter(s) under your company. However, users can go to Settings > Sites > Counter Details page to manually adjust the Wifi threshold for each counter. |
|
9. Counter Offline Threshold Duration |
As a part of the routine health check monitoring system, the counters will send a heartbeat to the server every 15 minutes. If the counter misses a heartbeat, the server will identify the counter as "Offline". The threshold duration is the period of time from the first missed heartbeat to the point where the counter is marked offline and trigger an Offline status report to the recipients. Min Threshold: 30 minutes Max Threshold: 1440 minutes (24 hours) |
|
10. Opt Out |
Once the new firmware is released, the updates will roll-out by batch automatically for counters under this company. Choose opt-out if you wish to stay in the current firmware version. |
|
11. Subscribe Beta Release |
You may choose to subscribe to the beta firmware release of FootfallCam's latest features. |
|
12. Number of counters upgrade per day |
Release of the latest firmware version will be scheduled to automatically upgrade the allocated number of counters set per day. |
|
13. Upgrade Outside Opperating Hour |
If this option is enabled, the counter firmware will only be upgraded outside operating hours. Note. Sites operating 24 hours not be upgraded as there is no out-of-operating hour time frame. |
2.4 Password Management for Device Level

2.4.1 Change Password for Device Level
STEP 1 - Click on Setting > Company to access the Company Setting Page.
STEP 2 - Enter the new password on "Default Device Setup Wizard Password" field
STEP 3 - Complete the process by entering all the required fields and click on Save button.
2.4.2 Change Password for Device Wi-Fi SSID
STEP 1 - Click on Setting > Company to access the Company Setting Page.
STEP 2 - Enter the new password on "Default Wi-Fi SSID Password" field
STEP 3 - Complete the process by entering all the required fields and click on Save button.
2.4.3 Apply Default Password to All Devices
If Apply default password to all devices field has checked, the original manufacturer password will be set as default.